“Good things take time.” This old saying couldn’t be more true in the kitchen… especially when it comes to braising. If you’ve ever wondered why your lamb ragu tastes better the next day or why low heat brings out deep, rich flavors, you’re about to find out! In this article, we’ll dive into the delicious science of braising. A method chefs swear by for turning tough cuts of meat into melt-in-your-mouth magic. Whether you’re a home cook or a food science geek like me (or both!). Get ready to explore what makes low and slow cooking the secret to unforgettable lamb ragu.
What Is Braising? A Culinary Chemistry Primer
Braising is a hybrid cooking method that uses both dry and moist heat to slowly transform tough cuts of meat. It begins by searing the meat at high heat before gently simmering it in a small amount of liquid over low heat for an extended period.
The Maillard reaction is the chemical process responsible for that delicious brown crust and rich, savory depth of umami flavor. It happens when proteins and sugars in the meat react during the initial high heat sear. This process locks in flavor before the slow simmer infuses the meat with moisture and aroma.
Braising? Isn’t that just a fancier word for stewing?
Stewing and braising are often confused, but they’re not quite the same. Stewing typically involves smaller pieces of meat fully submerged in liquid. Braising, however, uses less liquid (often just enough to come halfway up the meat) and typically keeps the cuts whole. Both can include browning, but braising’s emphasis on that initial Maillard-rich sear followed by partially submerging in a flavorful liquid (like broth, wine, or tomato sauce), covering the pot and slowly cooking at low temperatures.
Why Low Heat Changes Meat Texture (And Why It Matters)
Rapid cooking or plunging meat into boiling liquid to rush your ragu is a big no-no! This mistake causes the collagen in the meat to contract and toughen. This squeezes out precious moisture and leaves your lamb dry and chewy; exactly what you want to avoid.
The real magic behind why braising works so well lies in the slow conversion of collagen, a structural protein abundant in connective tissues, into gelatin. When meat is cooked slowly at low temperatures with moisture, the collagen gradually breaks down into gelatin. This transformation usually takes several hours at a gentle simmer, around 80–90°C.
If you’ve ever wondered why a rich lamb ragu tastes so silky and luscious, it’s the gelatin working its magic. Not only does gelatin give the meat that melt-in-your-mouth tenderness, but it also naturally thickens the sauce. Corn flour be gone!
The Ideal Cut of Lamb for Ragu & Why It Works
When it comes to crafting the perfect lamb ragu, shoulder and shanks are the go-to cuts for good reason. Both are rich in connective tissue packed with collagen, which slowly breaks down during the braising process to transform tough, chewy meat into fork-tender, melt-in-your-mouth goodness. These cuts also have an ideal balance of fat that renders down as they cook, keeping the meat moist and juicy while enriching the sauce with a luxurious, savory depth. Often bone-in, especially in the case of shanks, they contribute extra gelatin and marrow to the braising liquid, enhancing the sauce’s umami and silky texture. The bone also helps regulate the cooking temperature, ensuring even heat distribution during the long, slow simmer.
Beyond their cooking benefits, shoulder and shanks are typically more affordable than premium cuts like rack or loin, offering great value without sacrificing flavor. This makes them the perfect choice for slow-cooked dishes like lamb ragu, combining science and tradition to deliver tender meat, rich flavor, and an irresistible sauce.
There’s real science behind that magical moment when a fork glides effortlessly through a tender piece of braised lamb. Braising isn’t just a technique; it’s a slow transformation of ingredients into something greater than the sum of its parts. Whether you’re crafting a rich lamb ragu for a dinner party or meal-prepping comfort food for the week, understanding the why behind braising makes all the difference. So turn the heat low, pour a glass of wine, and let your pot work its quiet magic.
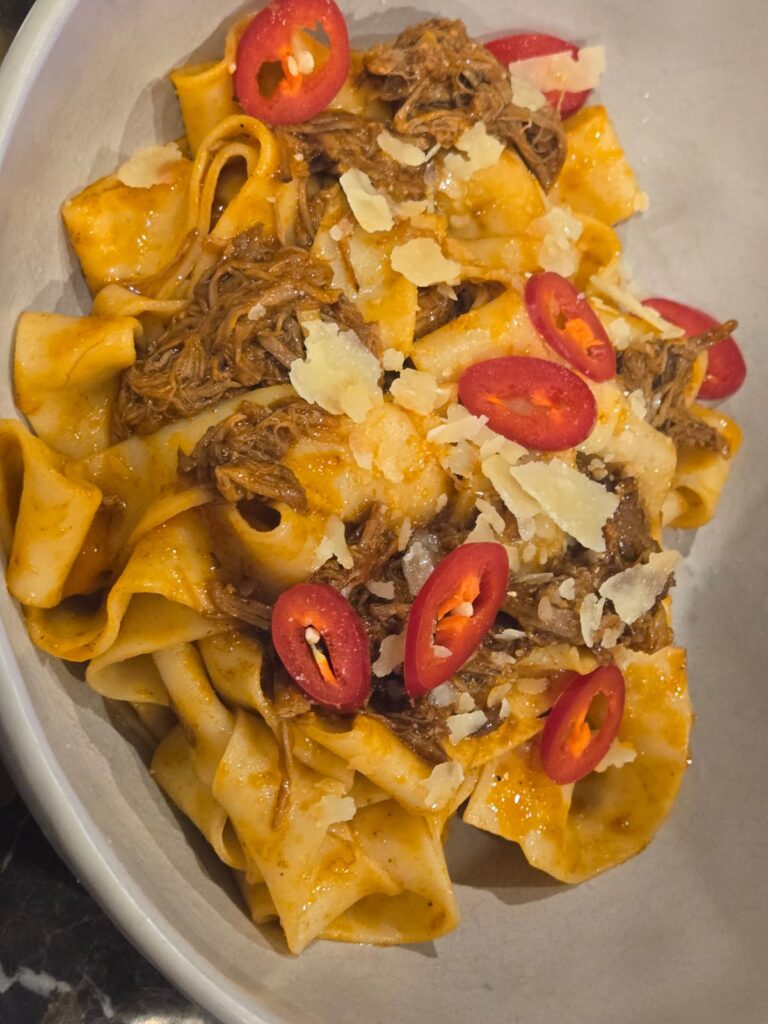
The Science of Braising: Why Low Heat Makes Better Lamb Ragu
One of those melt in your mouth winter warmers for the ages. Recipe was kindly handed down to me by a friend and is one of my favorite ragu variations.
Ingredients
Ragu
Pasta
Instructions
Making the Ragu
-
Prepare your lamb shoulder for braising. I do this by cutting overly excessive fat, cutting it into big chunks, rinsing with cold water and patting dry with paper towel.
-
Place the oil in a pot and turn to high heat. When hot sear all the lamb shoulder pieces. (See note 1)
-
Once seared turn heat to low and add the remaining ragu ingredients. Fill the pot with water until it goes up 1/3 of the lamb shoulder meat. Place the lid on the pot and let the magic happen.
-
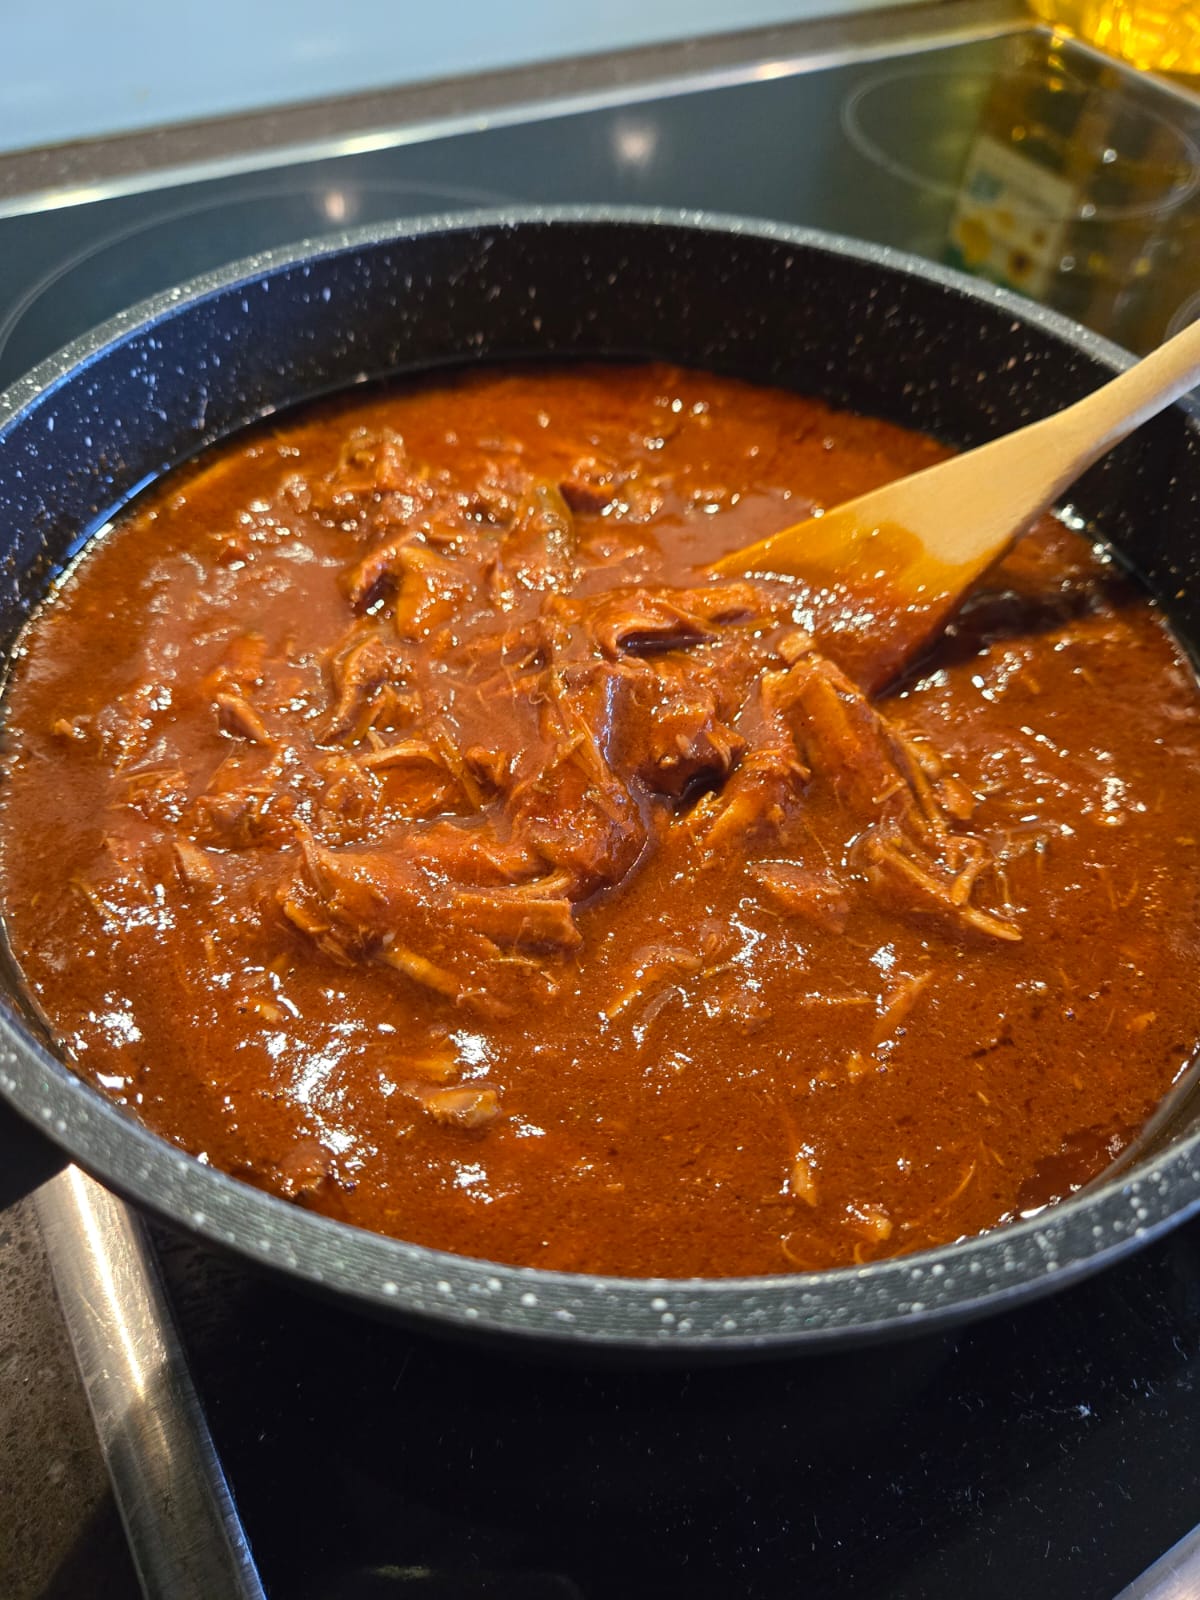
I tend to check on the ragu from time to time to make sure the moisture level is ok. If needed I top up to the appropriate moisture level. All up it should take between 3 - 4 hours for the ragu to become fork tender.
-
When it reaches fork tenderness take the meat out of the sauce and shred it before placing it back in ragu sauce at ultra low heat.
Assembling the pasta
-
Cook the pasta al dente in salted water.
-
Reserve a tiny but of the pasta water before straining the pasta.
-
Return the pasta to a frypan and add ragu to it ensuring all the pasta strands are getting coated with the ragu. This is where the pasta water helps bind and coat the pasta so if you are struggling to get equal coating add the paste water to help make it more fluid. The heat from the frypan will help it evaporate off leaving perfectly coated pasta.
-
Place in serving bowls and garnish with parmesan and fresh chilli (optional).
Bah bah!!!
Note
Note 1: If using a slow cooker just chuck all the Ragu ingredients into a slow cooker pot and set to slow cook for 16 hours. No need to sear.